5 Science Experiments For Kids (With Items You Already Have)
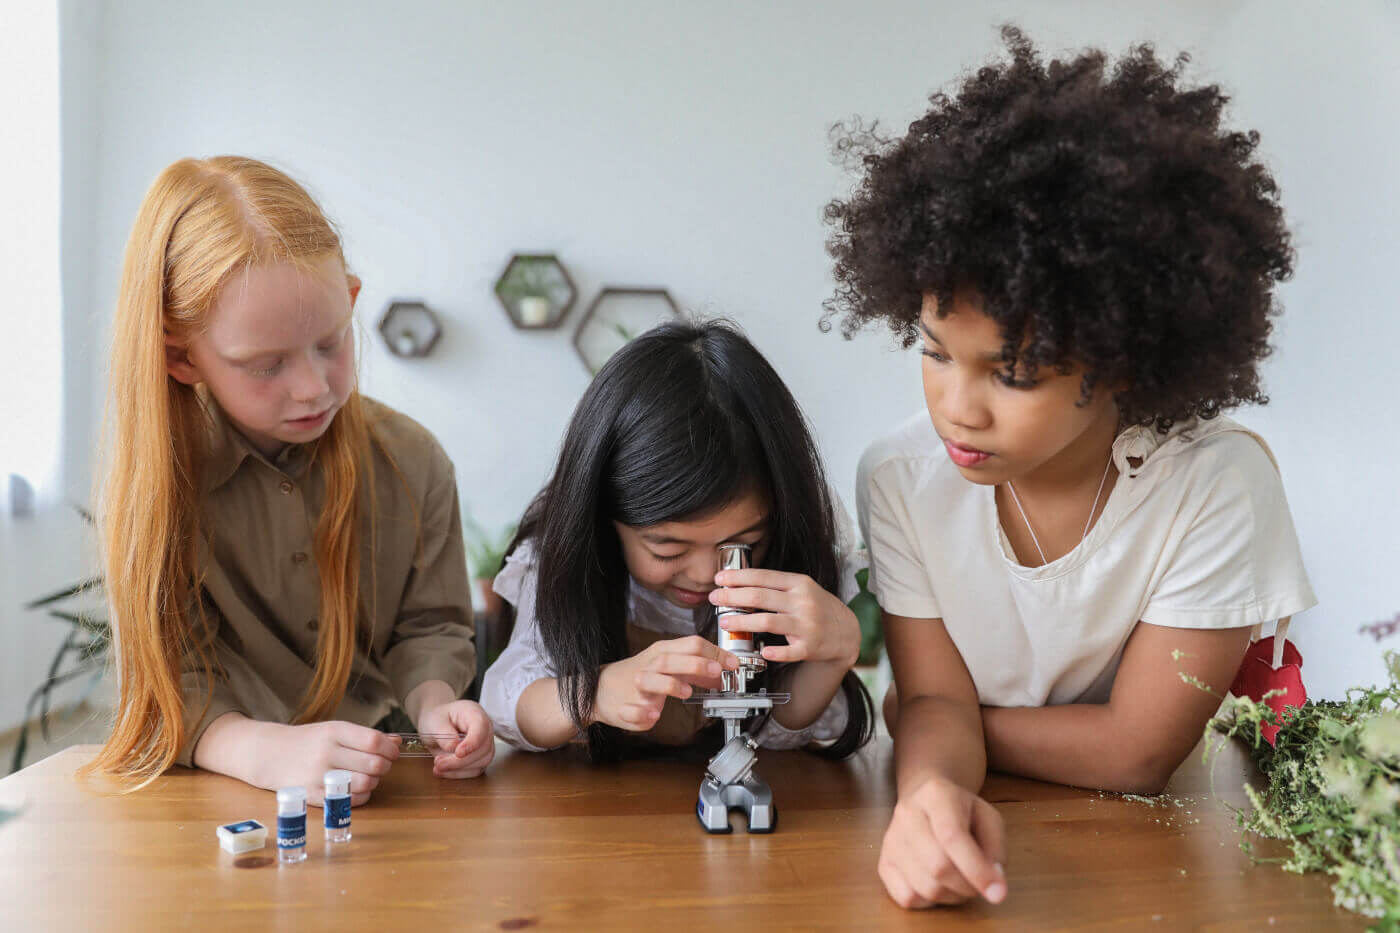
Blow your kids’ minds with these super easy science experiments! Each experiment listed below uses items you probably already have in your home (such as tea bags, water bottles, and string). These experiments are visually stimulating, hands-on, and sensory-rich, which makes them fun, engaging, and perfect for teaching simple science concepts. Help your kids to explore their curiosity with these science experiments for kids…
* Important note: we recommend adult supervision for each of these experiments, particularly those that require matches or warm water.
Flying Tea Bags
What they’ll learn: This is a heat experiment disguised as a cool trick! Kids will learn that warmer air is less dense than cooler air, and that’s why it rises!
Items you’ll need:
- Single serve tea bags (one per person taking part in the experiment)
- Matches
- A small bowl
- A stone or metal surface
Method:
- Before you begin, get your items ready.
- Make sure there is enough space above the surface of the tea bag to float into the air and extinguish itself.
- Open the tea bags and carefully unfold them.
- Empty out the tea leaves into a small bowl (save them for other uses, like garden compost).
- Use your fingers to hollow out the centre of the tea bags and stand them up on a stone or metal surface.
- Using a match, light the top of each standing tea bag.
- Watch as the tea bag burns to the bottom and floats up into the sky.
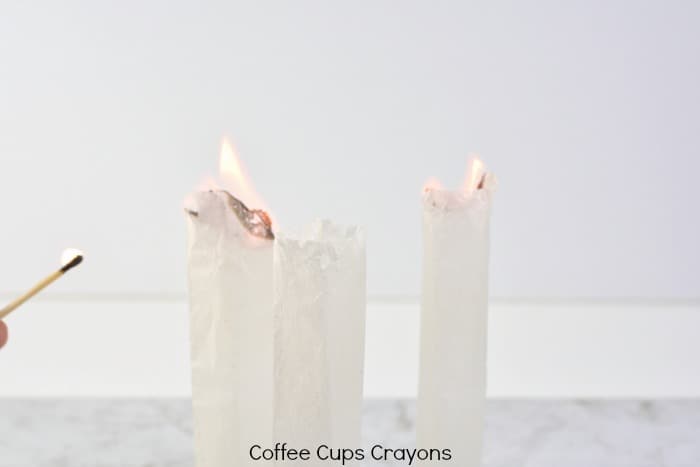
Image source: Coffee Cups Crayons
Skittles Experiment
What they’ll learn: Kids will learn about diffusion! You’ll demonstrate diffusion (the movement of particles) by watching Skittles create a rainbow swirl when immersed in warm water.
Items you’ll need:
- A bag of Skittles
- A circular plate
- Warm water (not hot)
Method:
- Arrange the Skittles on the outer curve of the plate in a circle shape.
- Carefully pour warm water into the middle of the plate until all the Skittles are submerged.
- Keep an eye on the plate, because the colour of the sweets will move towards the middle of the plate, creating a rainbow effect!
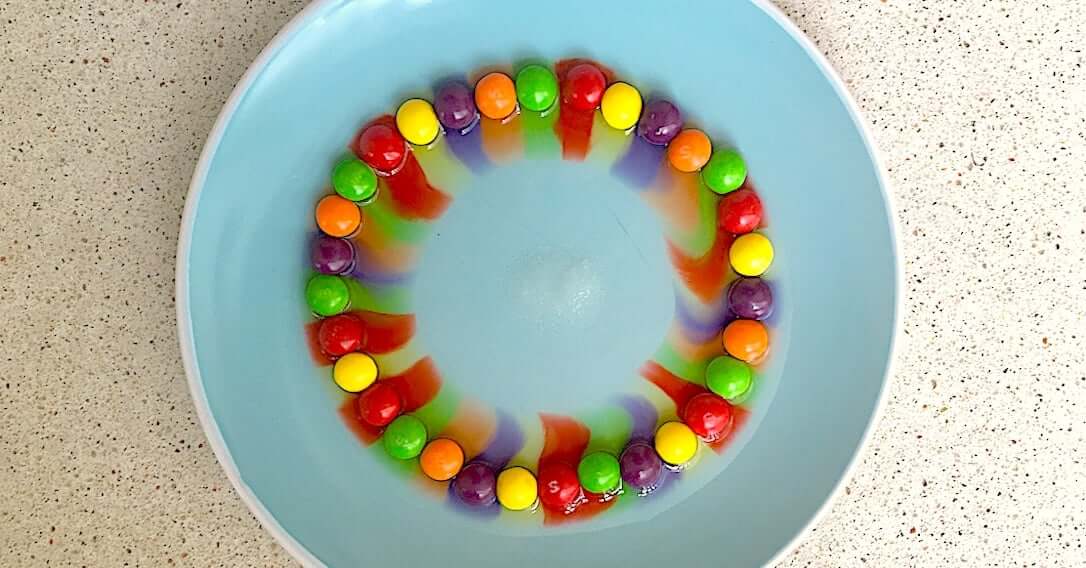
Image source: Toucan Box
Neon Flowers
What they’ll learn: Kids will learn what happens to plants when they are given water. You’ll be able to see processes like transpiration and cohesion as the water moves from the glasses up to the stem of the flowers and upwards towards the flowers.
Items you’ll need:
- 3 - 6 white flowers
- Food colouring in different colours
- 4 glasses
- Water
Method:
- Fill the glasses with water.
- Pour food colouring into the glasses, so that each glass contains a different colour.
- Trim the flowers so they fit into the glasses.
- Gently place the flowers into the glasses.
- Watch as the flowers begin to change colour!

Image source: Shutterstock via My Childcare Academy
Balloon Blow Up
What they’ll learn: In this experiment, kids will see how gases can expand when their particles move at high speeds! When baking soda (a base) and vinegar (an acid) are mixed together, they create a chemical reaction that results in the formation of carbon dioxide.
Items you’ll need:
- Small plastic bottle
- Balloon
- Baking soda (two teaspoons)
- Vinegar (third of a cup)
- Funnel
- Teaspoon
Method:
- Using the funnel, pour vinegar into the plastic bottle.
- Clean and dry the funnel thoroughly and insert it into the mouth of the balloon.
- Using the funnel, put the baking soda into the balloon, then remove the balloon from the funnel.
- Place the mouth of the balloon on the mouth of the bottle that contains vinegar (don’t let any baking soda drop into the bottle yet).
- Hold the bottle and lift the balloon to allow the baking soda to drop into the bottle.
- Watch as the balloon magically inflates!
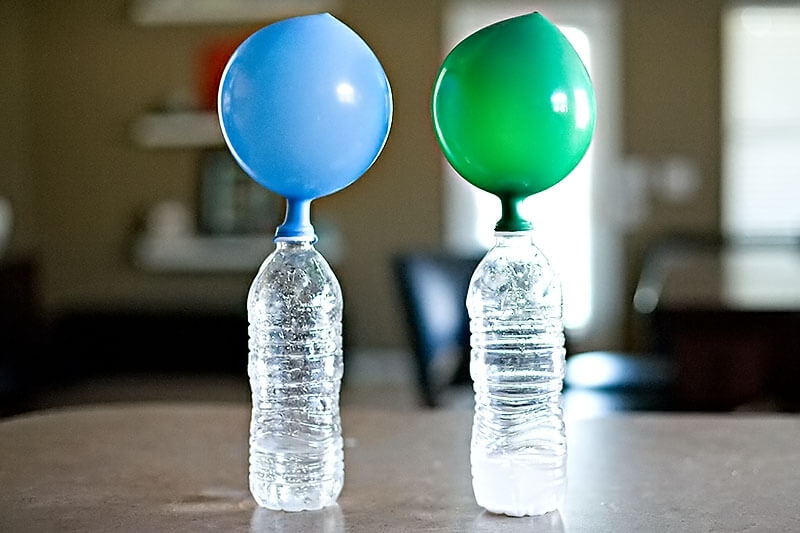
Image source: All For The Boys
Sticky Ice
What they’ll learn: Kids will learn about the effect of salt on the freezing point of water! Water freezes at 0 degrees Celsius, but when you sprinkle salt on top of the ice, it lowers the freezing point, causing the ice to absorb what’s around it (in this case, the water near the ice cube).
Items you’ll need:
- A piece of string
- A bowl of water
- Ice cubes
- Salt
Method:
- Place ice in the water bowl.
- First try to lift an ice cube using the piece of string (it won’t work!).
- Place the string on the ice.
- Sprinkle salt over the string, so it covers both the string and the ice.
- Wait for 60 seconds.
- Carefully lift the string and watch as the ice cube sticks to it!
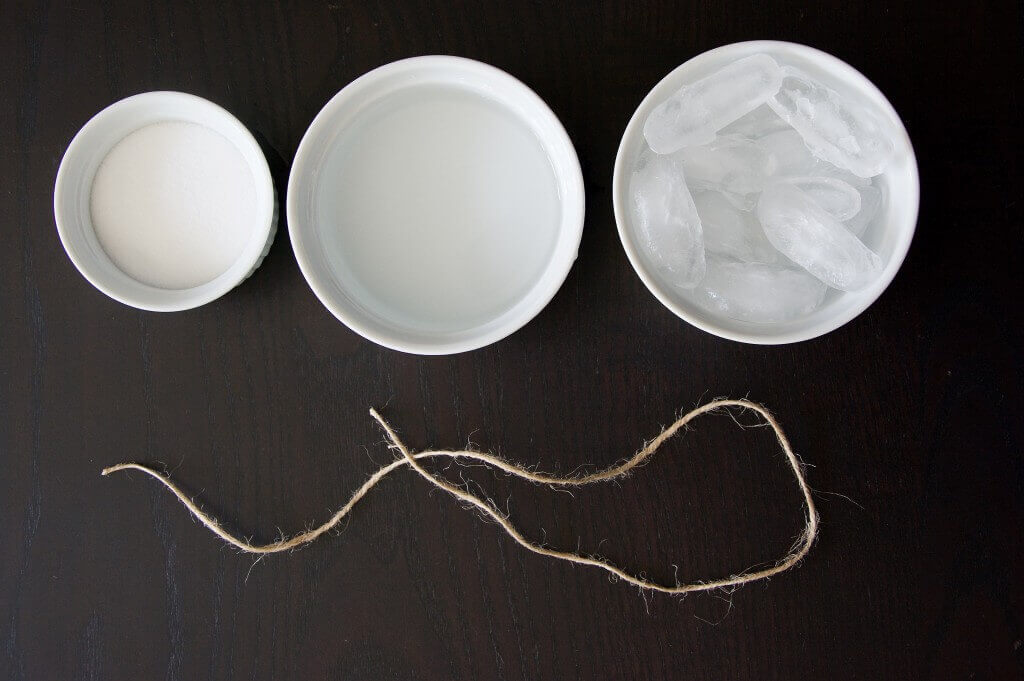
Image source: Playdough to Plato
Need a Science Tutor near you?
These are the Highest Quality Natural Science Tutors in South Africa. Get Natural Science Lessons in your home or online with Teach Me 2 – the Best in Tutoring.
Related Articles

7 Ways To Boost Your Child’s Confidence In Their Academics
Here are some very simple ways you can boost your child’s confidence by introducing helpful habits into their academic life.
Read More

How To Get Your Child To Love Maths (Even If You Don’t)
Believe it or not, it’s possible to help your child develop a love for numbers! If you are looking for simple and practical ways to get your child to love maths, then keep reading.
Read More

How To Help Your Child Handle Homework Stress
There are some simple and practical steps you can take to help your child handle homework stress. There is something on our list for everyone, no matter where you are in the journey.
Read More

We help families find their perfect tutor
Help your child improve their grades and get their confidence back.
GET A TUTOR